Hooking up a 3-way switch might seem intimidating at first, but with the right guidance, it can be a straightforward and rewarding DIY project. Whether you're looking to upgrade your home lighting system or troubleshoot an existing setup, understanding how to wire a 3-way switch is essential. This guide will walk you through the process step-by-step, ensuring you have all the information you need to complete the task safely and effectively.
Before diving into the technical details, it's important to understand what a 3-way switch is and why it’s so useful. A 3-way switch allows you to control a single light fixture or group of lights from two different locations. This setup is commonly used in hallways, staircases, and large rooms where convenience and flexibility are key. By the end of this article, you'll have a clear understanding of how to install and wire a 3-way switch like a pro.
Electrical projects can be tricky, especially when they involve your home's wiring. That's why it's crucial to follow safety guidelines and ensure your work meets local building codes. This article not only provides detailed instructions but also emphasizes the importance of safety and proper tools. Whether you're a seasoned DIY enthusiast or a beginner, this guide will help you tackle the project with confidence.
Read also:Erika Buenfil Net Worth 2023 A Look Inside
Table of Contents
Understanding 3-Way Switches
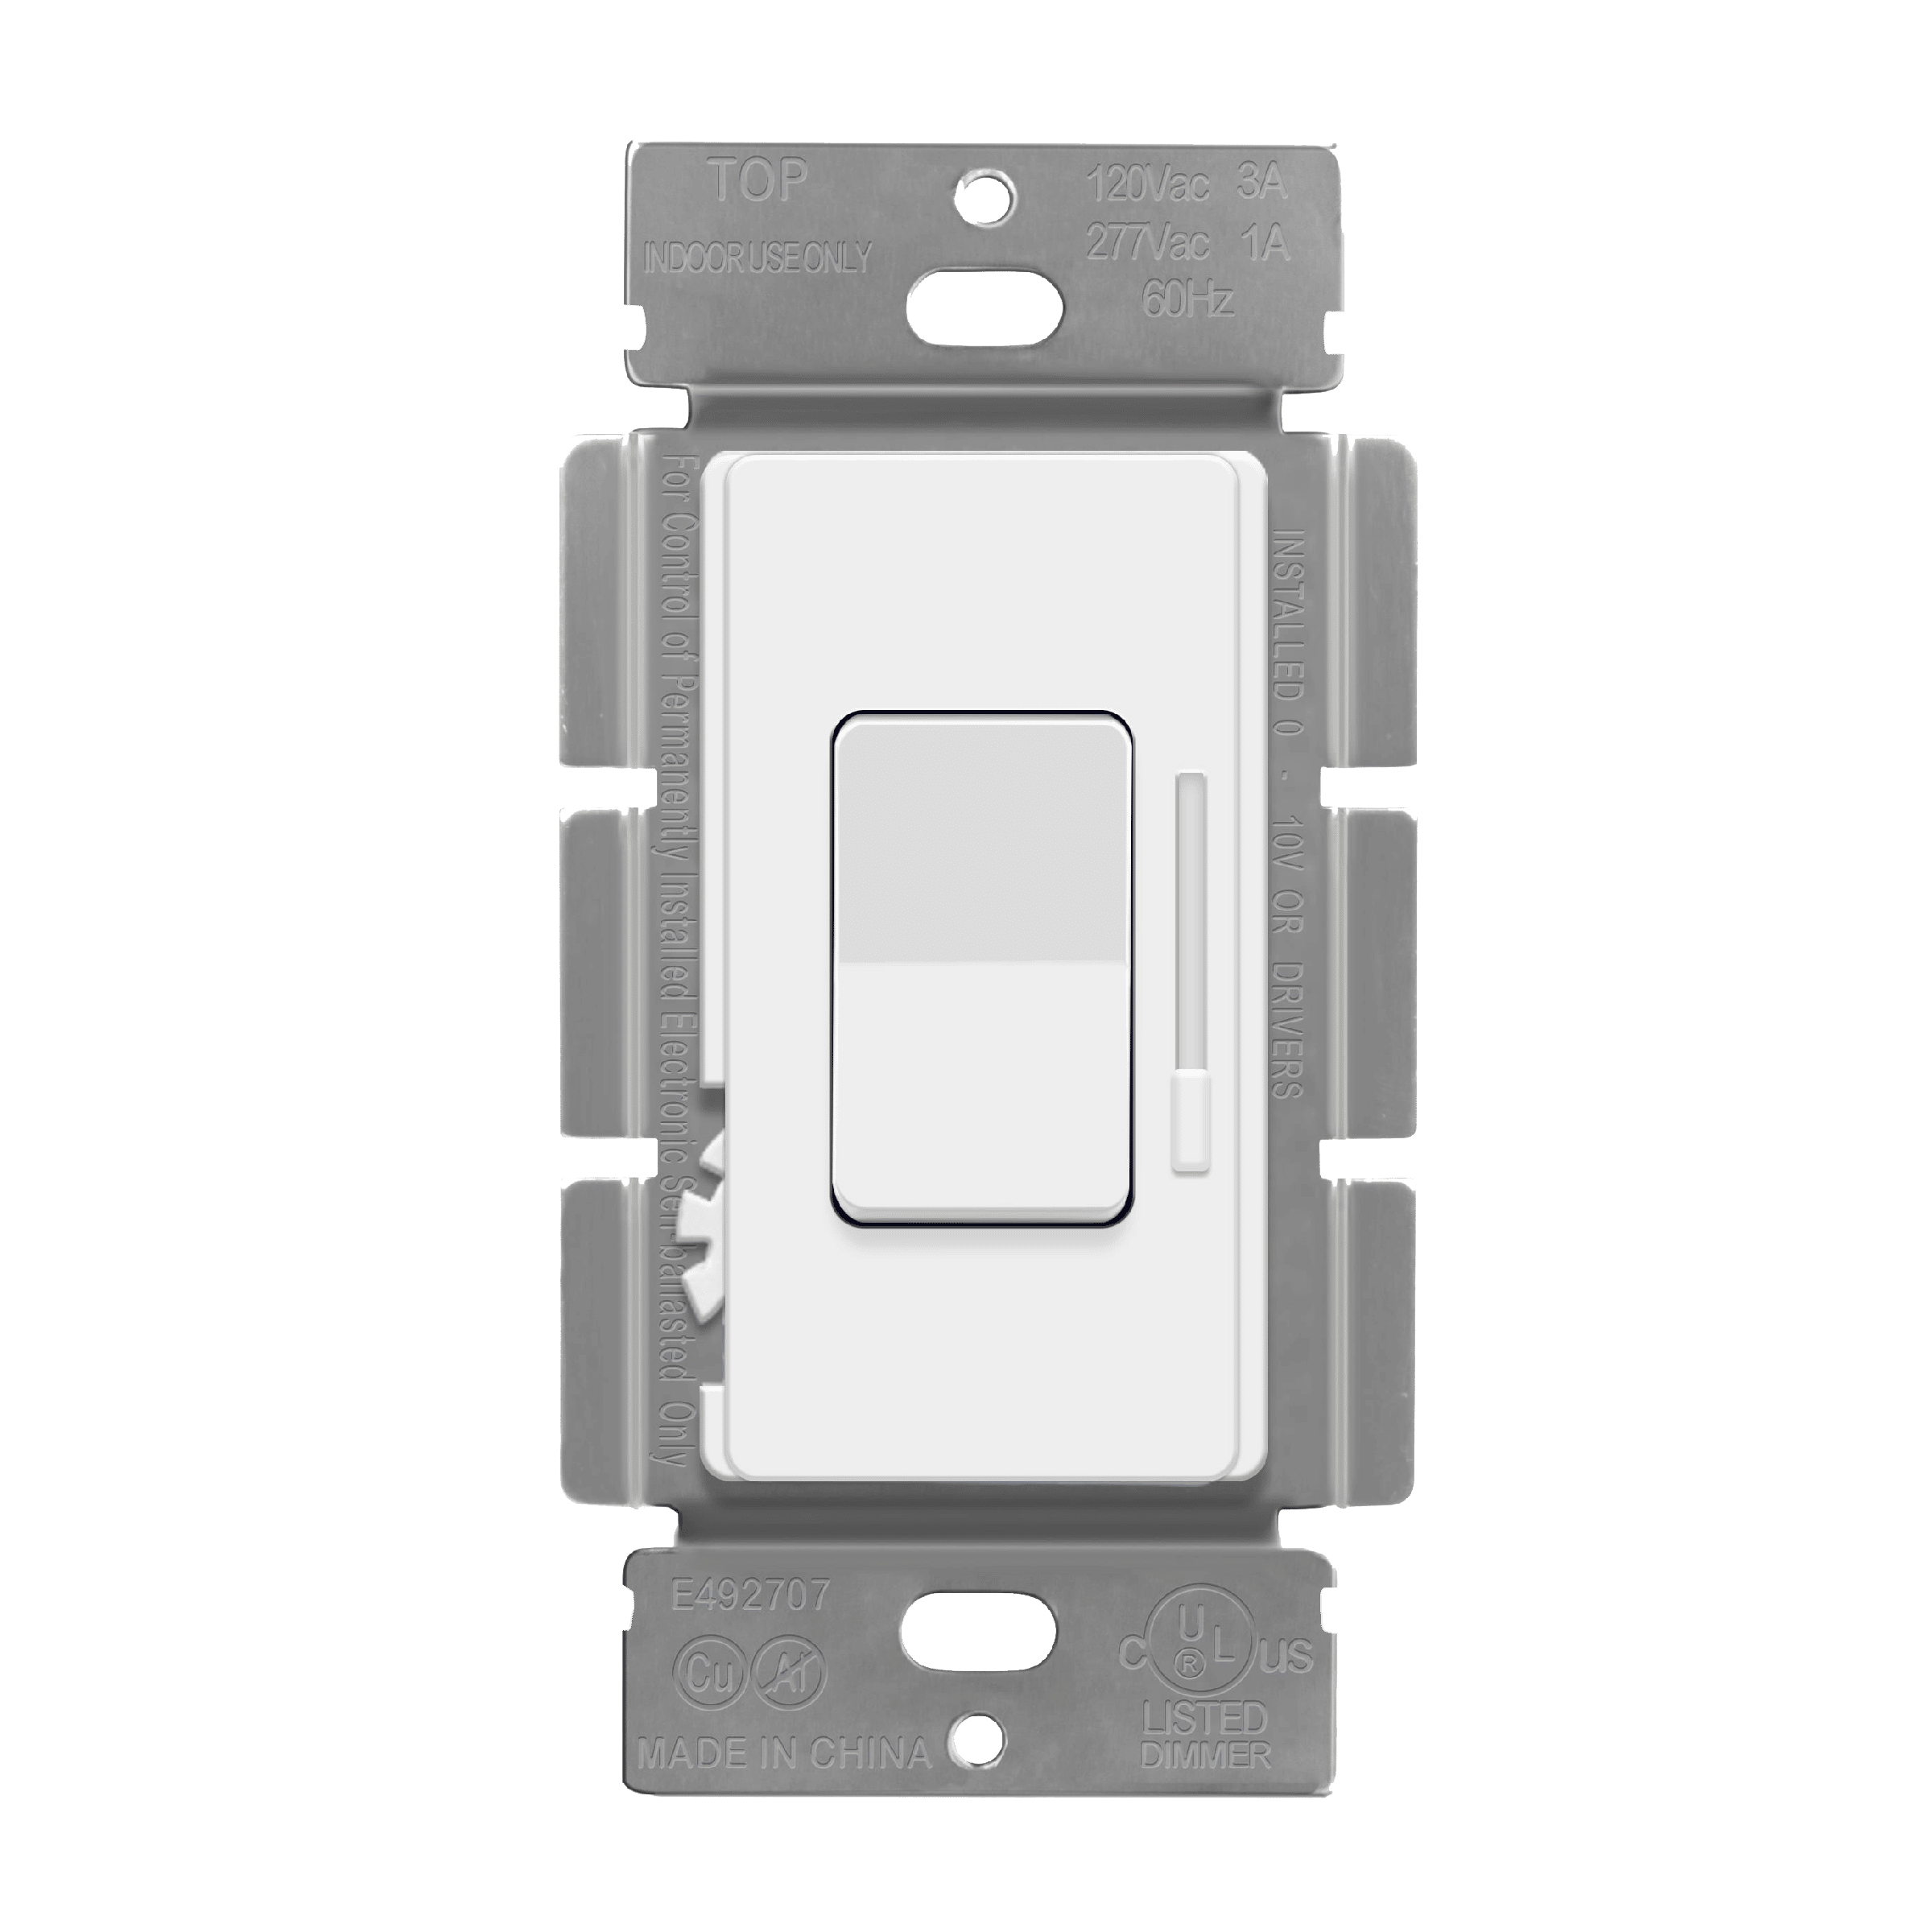
A 3-way switch is a type of electrical switch that allows you to control a light fixture from two different locations. Unlike a standard single-pole switch, which has only two terminals, a 3-way switch has three terminals (plus a ground terminal). These switches work in pairs and are connected by traveler wires, which allow the switches to communicate with each other.
The key to understanding how a 3-way switch works lies in its wiring configuration. The two switches are connected by two traveler wires, and the circuit is completed when both switches are in the same position (either up or down). When the switches are in different positions, the circuit is broken, and the light turns off. This setup provides flexibility and convenience, especially in large spaces or areas with multiple entrances.
It’s important to note that 3-way switches are often used in conjunction with 4-way switches if you need to control a light from more than two locations. However, this guide will focus specifically on wiring a basic 3-way switch setup. Understanding the basics will give you the foundation to tackle more complex configurations in the future.
Tools and Materials Needed
Before you begin wiring your 3-way switch, it's essential to gather the right tools and materials. Having everything prepared in advance will make the process smoother and safer. Here’s a list of what you’ll need:
- Tools:
- Screwdriver (flathead and Phillips)
- Wire stripper
- Needle-nose pliers
- Voltage tester
- Electrical tape
- Drill and bits (if installing new switch boxes)
- Materials:
- Two 3-way switches
- 14/3 or 12/3 electrical cable (depending on your circuit’s amperage)
- Wire nuts
- Electrical boxes (if not already installed)
Make sure all tools and materials are in good condition and rated for electrical work. Using substandard equipment can lead to safety hazards or improper installation. If you're unsure about any of the tools or materials, consult a professional electrician or refer to the manufacturer’s guidelines.
Safety First: Precautions to Take
Electrical work can be dangerous if not done properly. Here are some essential safety precautions to follow before and during the installation of a 3-way switch:
Read also:Andie Elle The Rising Star In The Music Industry
- Always turn off the power at the main breaker panel before starting any electrical work. Use a voltage tester to confirm that the circuit is dead.
- Wear protective gear, such as rubber-soled shoes and safety glasses, to minimize the risk of injury.
- Ensure your work area is dry and free of water or moisture, as this can increase the risk of electrical shock.
- Follow all local building codes and regulations. If you're unsure about any aspect of the project, consult a licensed electrician.
- Label wires and take photos of the existing setup before disconnecting anything. This will make it easier to reassemble everything correctly.
Taking these precautions seriously will help ensure your safety and the success of your project. Remember, it's always better to be cautious and seek professional help if needed.
Step-by-Step Guide to Wiring a 3-Way Switch
Step 1: Turn Off the Power
The first and most crucial step is to turn off the power at the main breaker panel. Locate the circuit breaker that controls the area where you’ll be working and switch it off. Use a voltage tester to confirm that the power is off by testing the wires in the switch box. This simple step can prevent serious accidents and ensure your safety throughout the project.
Step 2: Identify the Wires
Once the power is off, open the switch boxes and identify the wires. In a 3-way switch setup, you’ll typically find the following:
- Common wire: This wire is usually black and connects to the common terminal on the switch.
- Traveler wires: These wires (often red and black) connect the two switches and allow them to communicate.
- Ground wire: This wire (usually bare copper or green) connects to the ground terminal on the switch.
Label each wire with electrical tape or a marker to avoid confusion during installation. If you're replacing an existing switch, take note of how the wires are connected before removing them.
Step 3: Connect the Traveler Wires
Begin by connecting the traveler wires to the traveler terminals on the first switch. These terminals are usually brass-colored and located on the same side of the switch. Use wire nuts to secure the connections and wrap them with electrical tape for added safety. Repeat this process for the second switch, ensuring the traveler wires are connected to the corresponding terminals.
Step 4: Attach the Ground Wires
Next, connect the ground wires to the green or bare ground terminals on both switches. If the switch box is metal, you’ll also need to ground the box itself. Use a ground screw to attach the ground wire to the box. Proper grounding is essential for safety and ensures the circuit functions correctly.
Step 5: Test the Setup
Once all connections are secure, turn the power back on at the breaker panel. Test the switches by flipping them on and off from both locations. The light should turn on and off regardless of which switch you use. If the setup doesn’t work as expected, double-check your connections and ensure the wires are properly secured.
Common Mistakes to Avoid
Even experienced DIYers can make mistakes when wiring a 3-way switch. Here are some common errors to watch out for:
- Incorrect wire connections: Misidentifying the common wire or traveler wires can cause the circuit to malfunction. Always double-check your connections before turning the power back on.
- Skipping the voltage test: Failing to confirm that the power is off can result in electrical shock. Always use a voltage tester to ensure safety.
- Loose connections: Wires that aren’t securely attached can cause intermittent issues or even spark a fire. Use wire nuts and electrical tape to ensure all connections are tight and insulated.
- Ignoring local codes: Building codes vary by location, and failing to comply can lead to fines or unsafe installations. Always check with your local authorities before starting the project.
By avoiding these mistakes, you’ll increase your chances of completing the project successfully and safely.
Troubleshooting 3-Way Switch Problems
If your 3-way switch isn’t working as expected, don’t panic. Here are some troubleshooting tips to help you identify and fix the issue:
- Check the breaker: Ensure the circuit breaker hasn’t tripped. If it has, reset it and test the switches again.
- Inspect the connections: Loose or incorrect connections are a common cause of problems. Double-check that all wires are securely attached to the correct terminals.
- Test the switches: If the switches themselves are faulty, they may need to be replaced. Use a multimeter to test the continuity of each switch.
- Examine the light fixture: Sometimes the issue isn’t with the switches but with the light fixture or bulb. Replace the bulb or inspect the fixture for damage.
If you’re unable to resolve the issue on your own, it’s best to consult a licensed electrician. They can diagnose the problem and ensure your wiring is up to code.
Benefits of Using a 3-Way Switch
Installing a 3-way switch offers several benefits, making it a worthwhile investment for your home:
- Convenience: Control your lights from two different locations, such as the top and bottom of a staircase or opposite ends of a hallway.
- Energy efficiency: By having multiple control points, you can easily turn off lights when they’re not needed, reducing energy consumption.
- Increased property value: Modern and functional lighting systems can enhance the appeal of your home, potentially increasing its resale value.
- Customization: A 3-way switch setup can be expanded with 4-way switches to accommodate additional control points, offering even more flexibility.
These benefits make a 3-way switch a practical and valuable addition to any home.
Conclusion
Hooking up a 3-way switch is a manageable DIY project that can significantly improve the functionality of your home’s lighting system. By following the steps outlined in this guide, you can complete the installation safely and effectively. Remember to prioritize safety, use the right tools and materials, and consult a professional if you encounter any challenges.
We hope this article has provided you with the knowledge and confidence to tackle your 3-way switch project. If you found this guide helpful, feel free to share it with others or leave a comment below with your thoughts or questions. For more tips and tutorials on home improvement projects, be sure to explore our other articles!