Have you ever wondered how to give yourself a hickey mark? Whether you're experimenting with self-expression, looking to spice up your personal style, or simply curious about this unique form of body art, this article will guide you step by step. A hickey is essentially a temporary mark caused by suction on the skin, leading to broken capillaries beneath the surface. While it is typically associated with intimate moments, giving yourself a hickey is entirely possible with the right technique and precautions.
Understanding the process of creating a hickey mark is important, as it involves applying controlled pressure to your skin. While it may seem straightforward, there are several factors to consider to ensure safety and achieve the desired result. This guide will walk you through everything you need to know, from the science behind hickeys to tips for creating and caring for your mark.
As we delve deeper into this topic, you’ll learn about the tools you can use, the best areas of the body to create a hickey, and how to minimize discomfort. Additionally, we’ll address common misconceptions and provide expert advice to ensure you approach this topic responsibly. Whether you’re doing it for fun or personal reasons, this article aims to provide you with trustworthy and authoritative information.
Read also:Camilla Araujo Videos A Comprehensive Guide To Her Content And Influence
Table of Contents
What Is a Hickey?
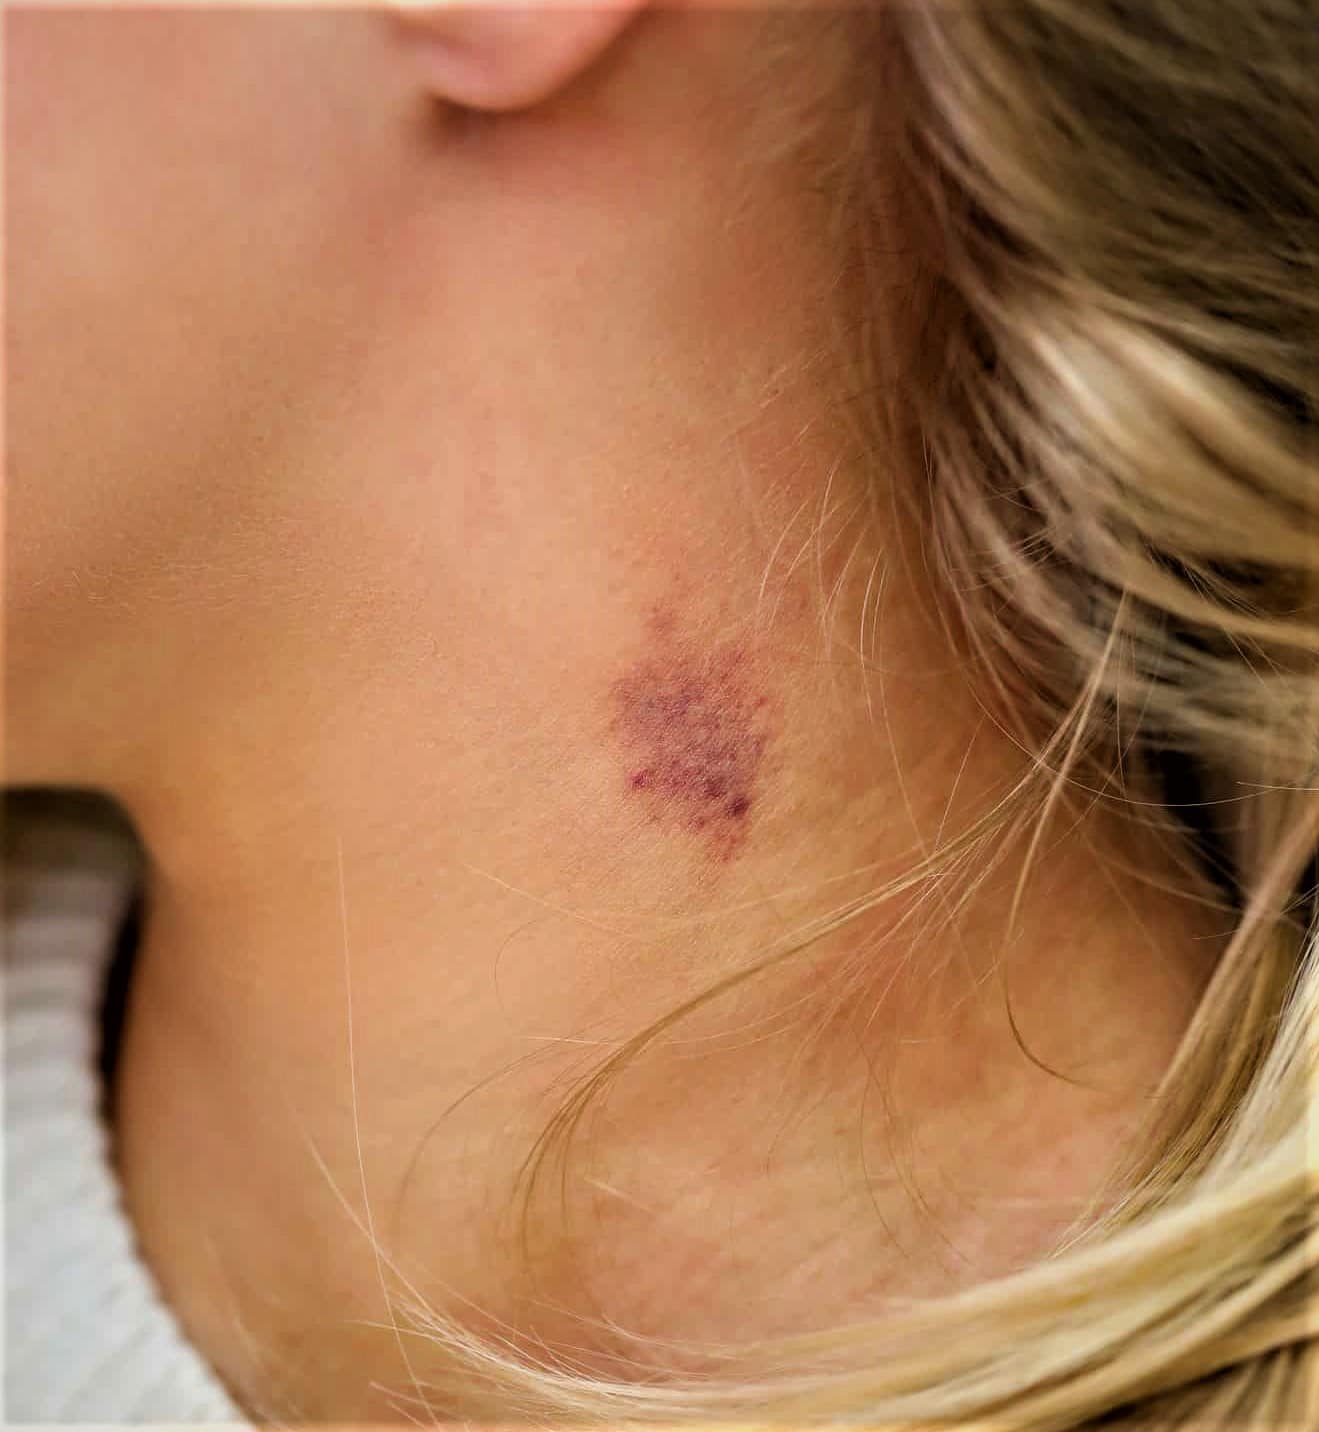
A hickey, also known as a "love bite," is a temporary bruise caused by suction applied to the skin. When pressure is applied to a specific area, it disrupts the blood vessels beneath the skin, causing blood to pool and creating a visible mark. This mark typically appears red or purple and fades over time as the body reabsorbs the blood.
Hickeys are often associated with romantic or intimate gestures, but they can also be created intentionally for aesthetic or experimental purposes. The process involves applying consistent suction to the skin, which can be done using your mouth or other tools.
How Hickeys Form
When suction is applied to the skin, it causes the capillaries near the surface to break. This results in a localized bruise that can vary in size and intensity depending on the pressure and duration of the suction. While hickeys are generally harmless, excessive force can lead to more significant bruising or discomfort.
Tools and Preparation
Before attempting to give yourself a hickey, it’s important to gather the right tools and prepare your skin properly. Here are some items you may need:
- A clean, soft object such as a suction cup or silicone tool (optional)
- A mirror to help you see the area you’re working on
- Moisturizer or oil to protect the skin
- A cold compress or ice pack to reduce swelling afterward
Start by cleansing the area where you plan to create the hickey. This helps remove any dirt or oils that could irritate the skin during the process. Applying a small amount of moisturizer or oil can also help reduce friction and make the process more comfortable.
Step-by-Step Guide to Giving Yourself a Hickey
Follow these steps to safely create a hickey mark on your own:
Read also:Rose Hart A Rising Star In The Entertainment Industry
- Choose the Right Spot: Select an area of your body that is easy to reach and has soft, sensitive skin. Common areas include the neck, collarbone, or inner arm.
- Apply Suction: Use your mouth or a tool to apply gentle suction to the chosen area. Start with light pressure and gradually increase it as needed.
- Hold the Suction: Maintain the suction for 10-20 seconds. Avoid applying too much pressure, as this can cause excessive bruising or discomfort.
- Check the Result: Release the suction and examine the area. If the mark isn’t as prominent as you’d like, repeat the process with slightly more pressure.
- Apply a Cold Compress: Once you’re satisfied with the hickey, use a cold compress to reduce swelling and soothe the skin.
Tips for Success
To achieve the best results, keep the following tips in mind:
- Experiment with different areas to find the one that works best for you.
- Use a mirror to ensure precision and avoid overdoing it.
- Take breaks between attempts to prevent irritation or excessive bruising.
Best Areas for a Hickey Mark
While the neck is the most common location for a hickey, there are several other areas where you can create a mark. Here are some options:
- Neck: The neck is easily accessible and provides a classic hickey look.
- Collarbone: This area is subtle yet noticeable, making it a popular choice.
- Inner Arm: A discreet location that can be hidden if needed.
- Shoulder: Offers a stylish and edgy appearance.
When choosing a location, consider factors such as visibility, comfort, and personal preference. Some areas may be more sensitive than others, so proceed with caution.
How to Care for Your Hickey
Once you’ve created your hickey, it’s important to take steps to care for your skin and ensure the mark fades smoothly. Here are some tips:
- Apply a Cold Compress: This helps reduce swelling and minimizes discomfort immediately after creating the hickey.
- Moisturize the Area: Use a gentle moisturizer to keep the skin hydrated and promote healing.
- Avoid Picking or Scratching: Resist the urge to pick at the mark, as this can cause further irritation or scarring.
- Monitor for Signs of Infection: If the area becomes red, swollen, or painful, consult a healthcare professional.
How Long Does a Hickey Last?
On average, a hickey will last anywhere from 7 to 14 days. The duration depends on factors such as the intensity of the suction, your skin type, and how well you care for the area. Applying heat (such as a warm compress) in the days following the hickey can help speed up the fading process.
Risks and Precautions
While giving yourself a hickey is generally safe, there are a few risks to be aware of:
- Excessive Bruising: Applying too much pressure can lead to severe bruising or even damage to deeper tissues.
- Skin Irritation: Sensitive skin may react negatively to suction, resulting in redness or irritation.
- Infection: If the skin is broken during the process, there is a risk of infection.
To minimize these risks, always start with gentle pressure and avoid areas with thin or fragile skin. If you experience any unusual symptoms, seek medical advice promptly.
Common Misconceptions About Hickeys
There are several myths surrounding hickeys that are worth addressing:
- Hickeys Are Permanent: Hickeys are temporary and will fade over time.
- They Are Harmless: While generally safe, hickeys can cause complications if not done carefully.
- Only Romantic Partners Can Give Hickeys: You can create a hickey on your own with the right technique.
Understanding these misconceptions can help you approach the process with a clearer perspective and better expectations.
How to Conceal a Hickey
If you need to hide your hickey for any reason, here are some effective methods:
- Use Makeup: A color-correcting concealer can help neutralize the red or purple tones of the hickey.
- Wear Clothing Strategically: Scarves, turtlenecks, or high-collared shirts can cover the mark.
- Apply Foundation: Layer foundation over the hickey to blend it with your skin tone.
Step-by-Step Concealing Process
To conceal your hickey effectively, follow these steps:
- Start with a color-correcting concealer (green for redness, yellow for purple).
- Apply a layer of foundation that matches your skin tone.
- Set the makeup with a translucent powder to ensure it stays in place.
Expert Advice on Safe Practices
To ensure your safety and achieve the best results, consider the following expert tips:
- Consult a Dermatologist: If you’re unsure about your skin’s sensitivity, seek professional advice.
- Test on a Small Area First: Before committing to a full hickey, test the suction on a less visible area to gauge your skin’s reaction.
- Stay Hydrated: Proper hydration supports skin health and aids in the healing process.
Remember, your safety and well-being should always come first. If you have any concerns or questions, don’t hesitate to reach out to a healthcare provider.
Conclusion
Creating a hickey mark on your own is a fun and creative way to experiment with self-expression. By following the steps outlined in this guide, you can safely achieve the desired result while minimizing risks. Whether you’re doing it for personal enjoyment or to try something new, always prioritize your safety and take care of your skin afterward.
We hope this article has provided you with valuable insights and practical tips. If you found this guide helpful, feel free to share it with others or leave a comment below. For more informative content, explore our other articles and continue your journey of discovery!